Background

Pages

Monday, November 29, 2010

Cricut Circle - November Monthly Challenge: Home Sweet Home

The theme for this month’s Cricut Circle challenge is all about cozying up your home with Handmade Home Decor! So for this month we should create a home decor project. The project must be newly created for this challenge and should include the following elements to qualify:

* Use at least one Cricut Cartridge Cut
* Use the Cuttlebug in some way
* Use Felt in some way
* Use the color GREEN somewhere on your project

This challenge is open to Cricut Circle Members only.

Here's what I created:


I used my new Jolly Holidays Cricut Lite cartridge to make the little Gingerbread man and the "Merry Christmas" word art. I embossed my gingerbread cut with the Polka Dot 5 x 7" Cuttlebug folder for texture. The red flower is felt and of course my green element is the ribbon and in the background paper, which is from a My Minds Eye Paper stack that I bought on Thanksgiving at Michael's! Now it's hanging up as part of my Christmas Decor!

Saturday, November 27, 2010

Winner and a Quick Imagine Project

Hey everyone! Thanks for joining in on our Cricut Imagine Blog Hop! I had so much fun playing with my Imagine. I can't wait until I get it moved down into my craft room... I'm thinking of doing a little thrift store shopping this week while my daughter is in preschool so I can find a small desk to put my Imagine on. So before I share the winner of the Blog Candy from our hop I would like to share an easy project that you can make, with or without your Imagine.


I originally created this project for the Cutters Creek Design Team Blog. If you have a few minutes you should pop over and take a look at some of the fun projects we have on the blog! I was just chosen to head up the design team and we will be having some fun over there on the blog so keep an eye out for it!


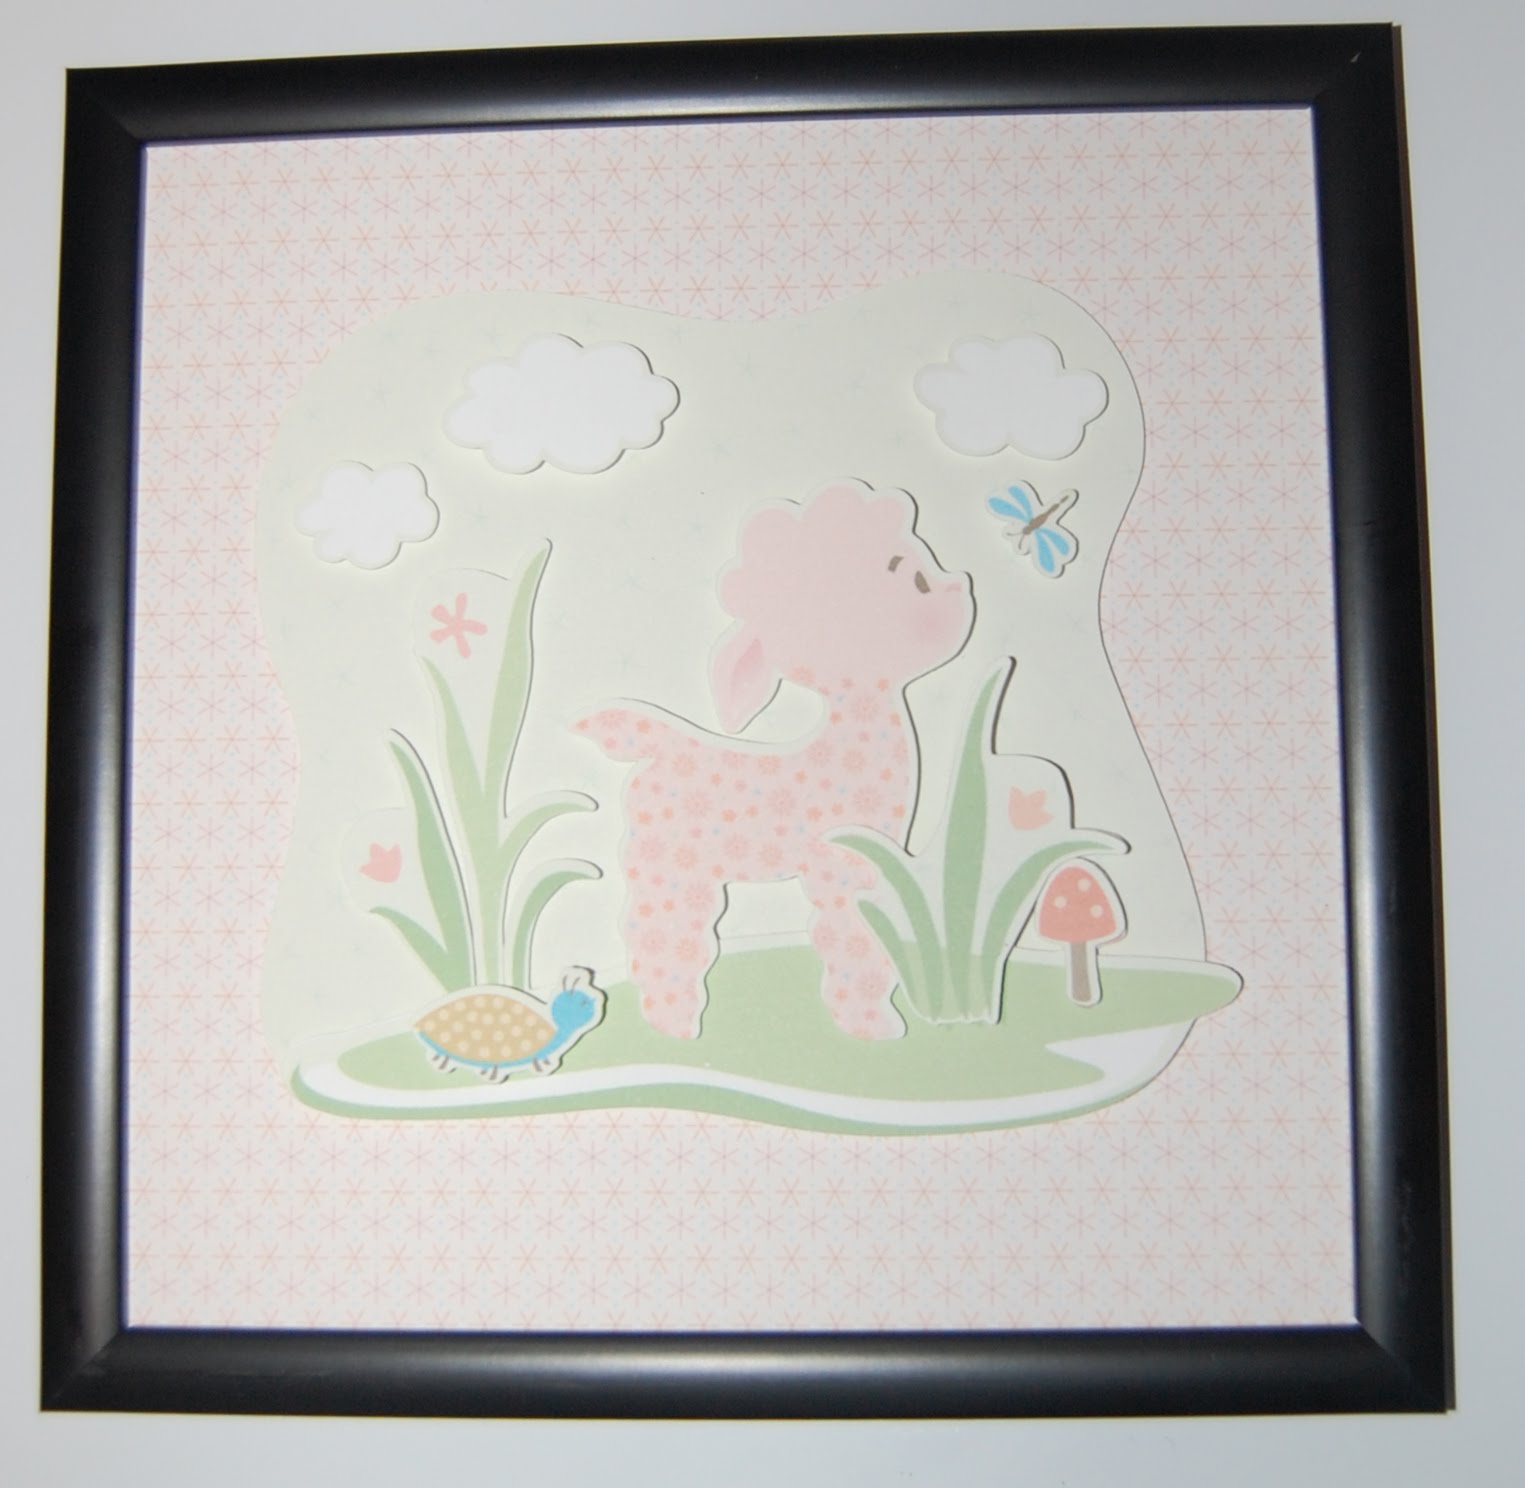
To create this adorable little gift box I used the Cindy Loo Cricut Cartridge in my Imagine. I paired it with the Nursery Tales cartridge for the patterns and colors. This is seriously my favorite Imagine cartridge.... anyway, I used the "Fit to Page" feature to make this box and of course forgot to note the size. It's about 3 1/2" tall when complete so I'm guessing it was about 6 or 7" on the machine...


The little animals are all cut at 2 1/2" and the flower is cut at 2". I just filled each layer with a different color using the Imagine but you could very easily duplicate this with a regular Cricut and some pretty patterned papers and cardstock.


I hope you like my little gift box! I'm sure you are wondering who the lucky blog candy winner is from the hop....

I used Random.org and it chose....


Comment #32 and that lucky commenter is....


Congrats, Alma!!!! Just shoot me an e-mail with your mailing info within the next 48 hours...

Thanks to everyone who hopped and I'm looking forward to the next one!

Monday, November 22, 2010

Cricut Imagine Blog Hop!

Hello and welcome to our Cricut Imagine blog hop! We have 11 bloggers ready to share our ideas with you for using your Cricut Imagine (or to entice you into buying one). You can start at any blog in the hop, then visit each one until you complete the circle and wind up back where you started. If you get lost at any time, I have a list at the bottom of this post with all of the participants. Several of us are offering blog candy giveaways, so make sure you enter each one separately.

So, if you're starting here, or coming from Jeannie’s Blog , you're on the right track! And when you're done here, you'll move along to Lori’s Blog and see what ideas she has for us. Now, on to my Imagine creations:


This was literally the first project I have created with my Imagine! Sure, I've made a few cuts to play but I don't really have a spot in my Scrap Room for her yet so she has been relegated to my dining room table, when there's room for her. I decided that I would create some layered wall hangings for my 19 month old daughter's room! The Nursery Tales cartridge has such beautiful images and colors that it is my favorite cartridge!


I think the most difficult part of my project was narrowing it down to which 4 images I wanted to use! They are all so stinking cute!!! I cut all of the images at 5.9" to conserve paper.


I used almost an entire sheet up Pop Up Dots to put this together. Some of the cuts are layered 3 or 4 dots high. I've decided that someone needs to come up with a fast dispenser of the squares for me!


The 8" x 8" frames I bought in a 4 pack at Michael's on sale for $9.99 and then I had a coupon for and extra 25% off my frames, making the 4 only $7.50. What a steal! I just wish that I had thought to look for a lighter colored frame. I may go back and paint these white at some point. Because of all of the layering, I decided to put these on top of the glass. Plus when we redecorate in a year or so I can easily change what's in them!


Here's the grouping hanging in her room! I am so thrilled with how they came out!!! And a certain 4 1/2 year old big sister has decided that she needs some art for her room too!

Now, before you hop away, let's talk BLOG CANDY! If you're not already a follower of my blog, I would appreciate it if you would become a follower. All comments on this post will be entered in a drawing to win a Glue Glider Pro! Please be sure that I have a way to contact you if you are the winner...

Ok, so now we're through here, go check out the AMAZING project that Lori has posted on her blog! An inspiring project with NO PAPER! You've got to see it to believe it...

Here's the list in case you get lost along the way:

Friday, November 19, 2010

Cricut Circle November Magazine Ornament Challenge

Every month the Circle puts out an online magazine just for it's members. I decided to play along with the magazine challenge this month because I was feeling Christmas-y yesterday!

The rules for this challenge are: Project must be newly created and able to hang from your tree. You must use at least 4 Cricut cuts in your design and incorporate something from one other Provo Craft Product… like the YuDu, Cuttlebug or Knifty Knitter. And this is what I came up with:


I cut the tree at 6" from the Christmas Solutions Cartridge that I got from the Gypsy cartridge download. I actually cut it twice and flipped one of them. Then I cut it again from some chipboard so it would be sturdy to hang on my tree. I embossed the green layers with my D'Vine Swirl Cuttlebug folder and adhered them to the chipboard after I inked the edges of it brown. I made this Santa with the Paper Doll Dress Up cartridge. He is cut at 4". I used red flocking on his suit so he is soft and fuzzy. His face is from Peachy Keen Stamps. I also cut his sack at 2" with Real Dial Size on. I used the Cricut Brown Marker 1st then cut it out. I colored the bow with a Bic Mark-It Ultra Fine Marker. Then I cut the stack of presents from the Birthday Bash cartridge at 1 3/4". Finally the star at the top of the tree is from Plantin SchoolBook with the Roly Poly feature and it is 1". I used my Xyron 150 to cover both sides with adhesive and then used some Martha Stewart glitter for the bling.


Before assembling every thing I grabbed my Stickles and added little colored dots all over the tree. Then I used my Helmar Zap Dots to layer everything. I'm so pleased with how cute this came out and I'm excited to hang it on the Christmas tree. I'm thinking I need to make MANY more ornaments because Evie is just at the right age to remove them from the tree to play with... and I don't want her playing with glass ones. Well, back to the scraproom to play some more...

Thursday, November 18, 2010

Hello Thursday!

There are 7 new Cricut Lite Cartridges that will be available at Wal-Mart on Black Friday! I think my favorite has to be Twinkle Toes! I know I'm in the Circle and just got Shall We Dance but the images are so stinking cute... Well, take a look....


See what I mean? Anyway, if you want to see the other new ones as well as a few projects, go check out the Obesessed with Scrapbooking Blog!

Monday, November 15, 2010

Cricut Circle Weekly Challenge #7: Thank You Color Challenge

This weeks Cricut Circle Challenge is all about saying "Thank You" Cultivating an attitude of gratitude is a great way to enrich our daily lives. This week's challenge is to create a THANK YOU card using a minimum of 2 different Cricut Cuts and the color inspiration provided below.

Magenta, Apricot, Deep Olive, and Golden Yellow. The color inspiration came from this photo, an aerial view of tulip fields.


Isn't this beautiful? Makes me want to hop a plane for Holland! So feeling inspired and motivated to try out my new Gypsy I decided to create a card from my Create a Critter Cricut Cartridge.


I am so thrilled with how my little owl turned out! I cut him at 5" tall. I liked the pink I chose but once I assembled him I decided that it could use a little shimmer... so I added some Scarlet Glimmer Mist! The yellow doesn't show up great in the photo but I wanted to capture the shimmer on the owl. To finish him off I added some gold i-rock studs to his wings. I just LOVE my i-rock!!! I used my Gypsy to weld two of the owl shadows together to create the card base.


Since the challenge is for a "Thank You" card that's what I turned this into but you could really use this for anything! I grabbed my Wild Card cartridge for the "Heartfelt Thanks" sentiment. I cut it at 2" from the Orange and the Pink and then cut it apart to layer it. I had fun with this challenge and I really want to make more fun animal cards with this cartridge!

Thursday, November 11, 2010

Cricut Circle Weekly Challenge #6: Feathered Friends Challenge

This week the Cricut Circle Challenge was: The birds are flying south for the winter and we’re heading inside to “feather” our own nests in preparation for the cooler months ahead. This challenge is in honor of the birds! Create a project of your choice using a minimum of 2 different Cricut Cuts. Your project must also include a bird of some kind and stitching (machine stitching, hand stitching, or both).


Both of these cuts are from the 3 Birds on Parade Cartridge (LOVE this one) and I "stitched" the letters in the sentiment with my white gel pen! And this gorgeous paper is from Imaginisce!

Friday, November 5, 2010

Thanksgiving Layout

Halloween is over and it's November so I was in the mood to finally scrap these photos from Thanksgiving 2008. I actually have another Turkey Day layout because we had 2 feasts that year! I found these adorable papers from Reminisce in an awesome scrapbook store this summer when we visited Woodstock, IL. I only wish now that I had bought 4 of each sheet instead of only 2, LOL!


The sketch came from one of the awesome Sketch Books that I won from the Scrapbooking Ali Blog. I can't wait to own all of her amazing books! I used the Lyrical Letters Cricut Cartridge to cut the title. This cartridge has some really cool fonts on it.


You may have also noticed this GORGEOUS flower on my layout as well. It can be purchased in the Precocious Paper Etsy Store. There are so many beautiful flowers in this store it's hard to pic my favorites! This one is one of the Orange Glitter Flowers and you can buy a PAIR of these for only $2.25! You may notice I added to this flower a tad buy making a turkey brad with my awesome i-top tool. It's so simple to make custom embellishments, so I do!


This adorable turkey cut is from the Create a Critter Cricut Cartridge. I serious LOVE this cartridge and all of the adorable characters on it! I blinged up his feathers with some copper colored i-rock gems. I find myself looking for places to add these fun touches to! Imaginisce makes some of the best tools!

Thursday, November 4, 2010

Cricut Circle Weekly Challenge #5: Birthday Sketch Challenge

So this weeks Cricut Circle Weekly Challenge was to create a Layout, Card, or Altered project using the SKETCH provided. The project must have a BIRTHDAY THEME and include BUTTONS in some way. The project must be newly created for this challenge and must include at least 2 different cuts from any Cricut cartridge to qualify.

So this is the sketch they provided:

And this is the card I created with it:

I used the Basic Grey Archaic collection for my patterned papers. This is one of my favorite lines! I chose it because I loved the little dinosaurs on the Create a Critter aartridge! The volcano is also from the Create a Critter cartridge.


For the inside I added the phrase "DinoMite" from the Create a Critter Phrases function. There are sooooo many cute phrases on this cartridge that a perfect for either cards or layout titles!


Here is one more look at the card! I thought the buttons looked a little like rocks rolling down the side of the volcano. Wish me luck in this weeks drawing!