Background

Pages

Showing posts with label Cardmaking. Show all posts

Friday, March 9, 2018

Little Darlings Rubber Stamps Card from Creativation

Hey Everyone! I wanted to take the next few posts to share some of the fun projects I made while attending this year's Creativation Show. Creativation is a trade show for the craft and hoddy industry and is a LOT of fun to attend.

Today I'm sharing this fun card using stamps and dies from Little Darlings Rubber Stamps. If you'd like to check out more of their products, just click HERE for their website! I had a blast playing in their booth and trying to win one of their fantastic tote bags!


After stamping this beautiful flower image we used water color paints to color it in. Then we stamped the stem of the flower on the base piece of card stock in green ink. Then we die cut the flower with the matching die and used some foam adhesive to layer the flower over the stem. Next we added the cute little lady bugs to the background and topped them off with a pearl for added dimension. Then we layered our card as shown above and in no time flat had a beautiful any occasion card!

Thanks for stopping my my blog today, I hope to see you again soon!


Thursday, March 1, 2018

Gorgeous Ecstasy Crafts Die Cut Card from Creativation

Hey Everyone! I wanted to take the next few posts to share some of the fun projects I made while attending this year's Creativation Show. Creativation is a trade show for the craft and hoddy industry and is a LOT of fun to attend.

This card was created at the Ecstasy Crafts Creativation booth and WOW is it gorgeous! I honestly don't remember the names of all of the products that we used but there was a flower maker that shaped the flowers so fast and easily with just a mist of water!


Instead of adhering the birdcage flat to the card I just did a dot of glue on the edges and popped it up for extra dimension.


It was surprisingly quick and painless to create this stunning card! I can't wait to share more projects with you soon!

Monday, February 19, 2018

Lawn Fawn Creativation Card

Hey Everyone! I wanted to take the next few posts to share some of the fun projects I made while attending this year's Creativation Show. Creativation is a trade show for the craft and hoddy industry and is a LOT of fun to attend. 

This first project I'd like to share today was from Lawn Fawn Stamps! They have the cutest images, including this adorable set of little birdies. We used Copic Markers to color each of the birds a different color of the rainbow. The image was die cut using a matching die set from Lawn Fawn. Then we just used some foam tape to pop the image up after stamping "So happy for you" on our base cardstock piece. Then we mounted this on a die cut piece of black cardstock as a mat. All of this was adhered to the front of the card over a rainbow striped piece of patterned paper. Such a fun and easy card to make that only takes a few minutes!


Just imagine all the ways you could change this up for different occasions! This one would be great for birthday, graduation, new home, or just anything that needs a little celebration!

Check back soon for another great Creativation project!

Saturday, January 20, 2018

Congratulations Embossed Card

Today I've got a fun card project that uses some colorful papers and heat embossing. I started off by creating a card from white card stock. Next I used some beautiful patterned paper I had in my scrap stash and cut it .5" smaller than the card base and inked the edge with a teal ink.


Next I cut a strip of white card stock and a strip of teal about .5" larger than the white. I used silver embossing powder over the Congratulations and then adhered it to the teal. Then I added it to my card front about 1" up from the bottom. Finally I stamped the flower and embossed it in white on 3 different coordinating patterned papers and carefully cut out each image. Then I used some foam adhesive to pop up 2 of my flowers.


Thursday, January 4, 2018

Celebrate Card

As you will see in future posts, one of my favorite things in the world is Disney. We went on our first trip in 2013 and have been back a bunch of times since. So when I needed to create a fun card that I could gift to just about anyone, I pulled out some scraps from my Disney Scrapbooking stash!


This is a basic A2 card that I created with a black card stock base. Then I layered a piece of fireworks paper from Reminisce on top. I cut out my Mickey Heads and "Celebrate" with my Cricut die-cutting machine and then layered them with a piece of Queen & Co Washi Tape on a white base. I popped up the balloons with a pop dot under each, and hand drew the balloon strings.

I hope you enjoy this card as much as I do! 

Wednesday, February 12, 2014

Butterfly Wings Card

Good Morning! Today I've got another Spring-y Butterfly Card for you. I love the detailsof this butterfly. It is from the Butterfly Wings set from Close to My Heart. It's now retired but you can find some other really cool sets in the current Close to My Heart catalog, just click HERE to shop!


For this card, I stamped and my image onto my white background and then again on my green patterned paper. Then I used my detail scissors to cut out the wings from the green paper and adhered them in place on the white background. I love this trick to quickly "color" images! I used ink and a makeup sponge to distress all of my edges. I used a strip of cork across the middle of the card and then decided to add a little bling to make it pop! For a list of supplies, see below:

  • Close to My Heart Butterfly Wishes Stamp Set
  • Recollections Bling on A Roll
  • Recollections White and Kraft Cardstock
  • Recollections Adhesive Cork Sheet
  • Lawn Fawn Patterned Paper
  • Recollections Card Bases
  • Tim Holtz Broken China and Vintage Photo Distress Inks
  • Sakura Quickie Glue Pen
  • Scotch ATG Adhesive

Monday, February 3, 2014

For You Butterfly Card

Hello and welcome to my blog! This is the 2nd card in my recent Butterfly Card series! If you missed the first one, just hop back to the last post and check it out. I was inspired to make this card by one I saw on Pinterest so I decided to make it pretty and spring-y!


This butterfly image is from the same Close to My Heart set as the big butterfly on my last card. It is now retired but CTMH has many awesome stamps to choose from! Bugs & Hugs is a fun set that would be a great substitute and if you're interested in purchasing that or any other Close to My Heart items, click on the link that says "Mandie From Mandie's Scrappin Sent Me" when you order to let Lori know I sent you.

The "For You" sentiment is also from Close to my Heart. I punched the border with a Fiskars Threading Water Border punch. I also added a bit of May Arts Bakers Twine for texture.  The blue and green patterned papers are from Lawn Fawn. To "color" my butterfly, I simply stamped it once on the White paper and again on a scrap of my Green patterned paper. Then I "fussy cut" the wings and body from the green paper and adhered it over my image on the white paper. I distressed everything with some Tim Holtz Distress Ink to finish it off.

I hope you enjoyed today's card and I hope I'll see you again soon!

Saturday, February 1, 2014

Bold Butterfly Card

Hello and welcome to my happy, scrappy blog! I've got a fun-tastic card to share with you today. With all of the cold weather here in IL I've been longing for Spring and happy things, like butterflies! So I've created a series of beautiful butterfly cards to share here on my blog! I'll be featuring all of them over the next week or so.

Today's card uses a big butterfly stamp from Close to My Heart. I stamped it using Tim Holtz Broken China Distress ink. Then I used Clear Embossing powder to emboss it and make it shine! Then I distressed all of my edges with Walnut Stain Distress Ink. The green patterned paper is from a Lawn Fawn 6 x 6 paper pad. You know, they have adorable stamps but did you know they also have fabulous paper too?

Oh, and speaking of Close to My Heart, if you're interested in any of their awesome products, click right HERE to go shopping and find some beautiful new stamps!

I hope you enjoyed the 1st of my 5 card series! See you again real soon! 

Thursday, January 30, 2014

Masculine Birthday Cards

Hello and welcome to another fun day here on my blog! Today I've got 2 different versions of a masculine birthday card for you to check out! First up, I used Graphic 45's A Perfect Gentleman to create this card. The stamped image is from Tim Holtz and I embossed it with clear embossing powder to really make it pop. I distressed everything with Walnut Stain Distress Ink.


Here's version 2 of the same card with a totally different color scheme. This one is from a 6 x 6 MME paper pad and I just LOVE the yellow and blue combo on this one! I inked all of the edges with Black Soot Distress Ink and the "Happy Birthday" is from Hero Arts.


I hope you enjoyed both of my cards today and I hope I inspire you to try to make a masculine card today!

Sunday, January 26, 2014

Butterfly Waterfall Card

Hello again! I've got another beautiful card to share with you today! This type of card is called a Waterfall Card and it's really fun to make and looks WAY more complicated than it is! First I took 4 white squares that are 1 7/8" x 1 7/8" and stamped 4 different butterfly images on to them. Then I mounted them on 2" x 2" Pink Squares.


Next I took a strip of 2" x 9" and scored it at 2", 2 3/4", 3 1/2" and 4 1/4" and bent each score back and forth. I glued the 1st mounted image into the 2 x 2 area at the bottom of the strip, and then adding adhesive to only the top of the back of my other squares, I butted them up to each score line. Then I cut the striped paper to 3/4" x 4" and glued the bottom of my long strip to it. Then fold the strip over so the rest of the strip is behind your striped paper. Next you adhere just the very edges of the striped paper to the floral paper that is 5 1/4" x 4". You can use a brad or eyelet to attach this if you like.


Now you adhere the floral paper to your 5 1/2" x 4 1/4" card base. I punched two small holes in the bottom of the 9" x 2" strip and added a ribbon so that it makes it easier to pull. Now you can add a sentiment on the inside of the card and you have a very impressive card!

Hope you enjoyed today's card! See you again real soon!

Tuesday, June 12, 2012

never TOO MUCH HAPPY Card

Good Morning, everyone! A couple of weeks ago I was SO happy to find out that I WON a FABULOUS prize from the Simple Stories/Unity Stamp Company Blog Week! I received 5 GORGEOUS stamp sets from Unity Stamp Company!!! So of course, I had to get crafty with them right away! The first thing I made was this card:


I was inspired by the sketch at the Deconstructed Sketch Blog for this weeks challenge so I decided to play along! I used the Happy Pinwheels set and the set and stamped my images in Cocoa Close to My Heart Ink. I used some FABULOUS patterned papers from the Echo Park Paper This & That Graceful paper collection to paper piece into my stamped image. To do this, you simply stamp your image onto patterned paper and then cut out the pieces you want to use. The background paper I used is from Studio Calico and I like the Notebook Paper look it has. I'm so pleased with how this card turned out! Thanks for reading!

Friday, April 8, 2011

"It's Easter!" Blog Hop - Day 2

Hi everyone! Welcome to the “It’s Easter” Blog Hop to help you get ready for this wonderful Easter season. Joining me in this fun celebration are some of the most talented crafters that I know. There are a few rules for this hop, in support of each crafter and the time they have put into their work, to be eligible for my blog candy you MUST visit each blog and leave a comment. If you have just stopped by to check my blog you can find the beginning of the hop HERE.

This hop runs from April 7th - 10th, and there will be new projects posted on each blog each day! Check out each blog and see what each blog has to offer for BLOG CANDY!


Today's card is a super simple card that could easily be mass produced! I cut my card base from light pink cardstock at 5" x 10" and folded it in half to make a 5" x 5" card. Then I cut the dark pink layer from the Stretch Your Imagination Cricut Cartridge at 5" from using the Card Frame function. The little bunny is on the same key with a basket. I used my Gypsy to hide the basket in the cut and the layer. I set the size to 2 3/4", then I cut the top layer in white and the bottom in dark pink. Then I added some Polar White Flower Soft to his tail so it would be super fluffy!


Here's a closer look at my happy little bunny. You could easily use this card for invitations to an Easter celebration or just as a sweet card to mail out to friends and family! Don't forget to come back tomorrow and see my next creation!

Now you might be wondering about my blog candy... I have a TON of goodies in my stash from CHA so I will be drawing one name for every 50 comments that are made during the entire run of the hop to win a mystery gift! So, if you come back and comment (only ONCE per day) each day you will have a total of 4 entries into each drawing! I will pay for shipping to the U.S. and Canada. If you are outside of this area, you can win but you must pay for shipping. Please make sure that you are following my blog as well, because the more followers I have, the more goodies I giveaway! After you leave your comment your going to hop on over to Mickie's Blog!

Here's the line up for the hop in case you get get lost along the way....

1. Shawnee's Blog
2. Rachelle's Blog
3. Lisa's Blog
4. Suzanne's Blog
5. Patricia's Blog
6. Shelly & Kitty's Blog
7. Rhonda's Blog
8. Mandie's Blog - You are HERE!
9. Mickie's Blog - Go HERE next!
10. Deborah's Blog
11. Kristy's Blog
12. Tristan's Blog
13. Ellen's Blog
14. Monica's Blog
15. Robin's Blog
16. Christine's Blog

Wednesday, March 23, 2011

Flower Soft and Ecstasy Crafts Tutorial

I just wanted to share a tutorial that I wrote for the Cutters Creek Blog! If you would like to see the original post and enter to WIN the Flower soft prize package just go HERE and leave a comment! Also this weekend will be the Cutters Creek Spring Blog Hop and my blog is one of the stops on the hop! Make sure you don't miss it!

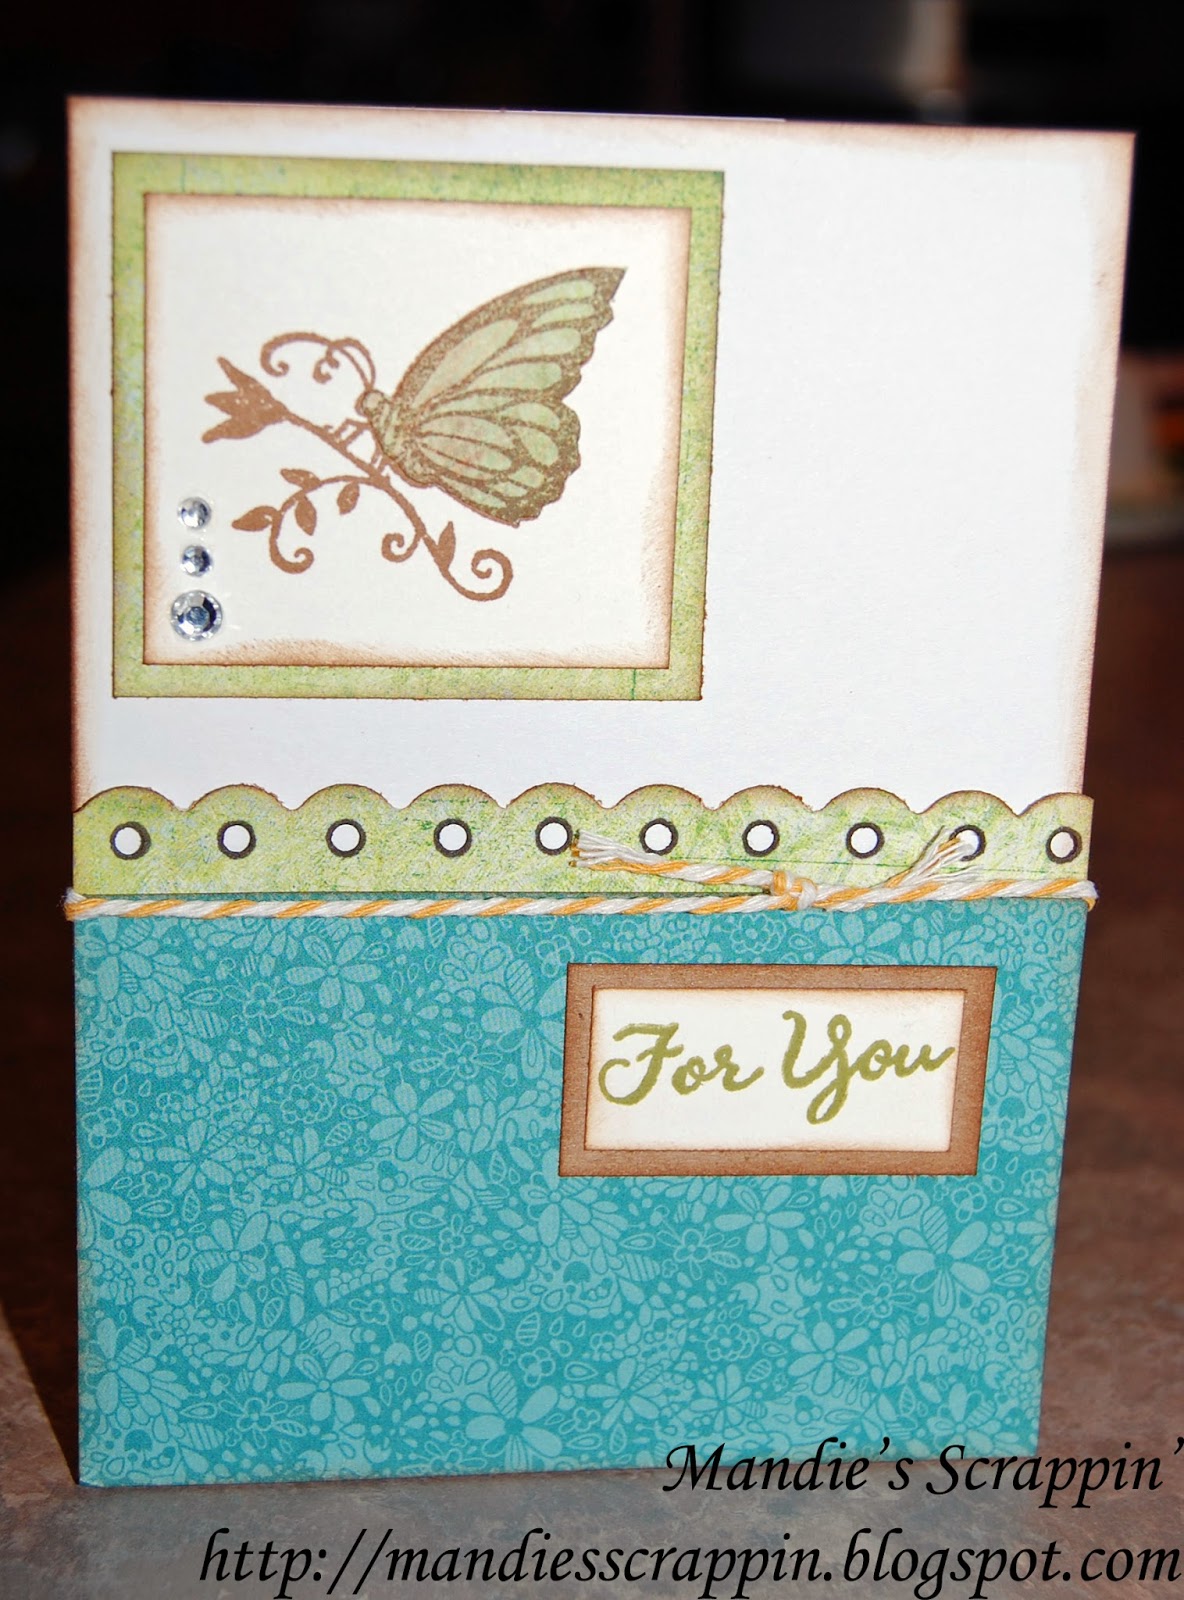
For today's project I decided to show you that you can use other images besides the Flower Soft Toppers with your Flower Soft. I chose to make a card with one of the three adorable images from the Wedding Bears & Cats diecut set from Ecstasy Crafts. Here's a look at my finished card:


To begin I cut out the backing image and began punching out all of the shapes that belong with it. I love that I'm not trying to cut these shapes, you just need to punch them out (and they punch out great)! Then you add the Ecstasy Crafts Joy! Foam Squares to the back. These are really cool because they are thin and give just enough lift for really nice dimension.


Notice I only added the very first layer to my card before I added my Flower Soft. I thought it would be easier to add my Flower Soft with out the other stuff on there... and there would be less chance of me making a boo-boo :) So I grabbed my Flower Soft Adhesive and a jar of Polar White Flower Soft to add to my tree.


Next I added small dots of glue to the flowers on the trees. You want to make sure you keep the bottle upside-down the entire time you are using the glue. And you really don't need a ton, just make small dots. Then just sprinkle your Flower Soft over the top. You can either use a small spoon or just pinch it with your fingers.


Here you can see I divided my tree in thirds. On the left is the Flower Soft added to the glue, in the middle is just my glue dots and the right is waiting to be done.


Yes, Flower Soft should be "fluffed up" a bit before you use it. Notice how fluffy it gets... yep, I just stuck the lid on top and it went right back on! And no, this isn't a brand new jar! I've actually used this on several projects! You can get a LOT for mileage out of one jar!


Here's the image at an angle, you probably want to click on it to make it larger so you can see the layering. Notice I decided to add some of the Baby Pink Flower Soft to the brides headband and bouquet too.


To finish off my image I added stars to the sky with my Gelly Roll Stardust Pure Glitter Pens. I just made little dots all over. I also added a little glitter to the inside of the flowers but it didn't show up in the photos... it looks great in person tho! Then I simply stuck it to a plain white A2 card base with my Pink ATG!


Here's one more look at the finished card! Don't be afraid to try your Flower Soft on ANYTHING!

Sunday, January 9, 2011

Elmo Card

So I've already been neglecting my blog this year, LOL! It's because I've been so busy creating projects and planning my trip to CHA-Winter (The Craft and Hobby Association trade show)! I'm super excited to have the opportunity to go... even if it means leaving my girls for almost a week. :(

So on a happy note, there are a pair of new babies in my family, my husband's cousin had a baby boy, Evan, and my cousin had a baby girl, Kyrsten! I will share the baby cards later but I wanted to share the Big Brother card I made for Evan's big brother. I used the Elmo's Party Cricut Cartridge to make this Pop Up Card. I am so thrilled with how easily this card came together. And the matching envelope is sooooo cute! I'm going to need a TON of red paper because I decided that I am going to make Evie's birthday invitations with this same card and envelope....


I used Fit to Page to size my envelope. I don't remember the size now but I think it was about 5 or 5 1/2" for the card and envelope. Remember to get the envelope size first so your card won't be to big for it's envelope!


The Elmo cuts in 2 pieces and you score him and then attach the top to the bottom. I was sort of surprised that this was so simple. And it's so cute! I made sure to use high quality Bazzill cardstock to put this together so that the Elmo would be sturdy. Then I just cut the blue squares to cover the front and back of my card (the card has some marks to show you where to place Elmo in the card and they do go all the way through the card). Then I cut Elmo's face and used my Gypsy to weld "Christopher" for the from of the card. I think I used the Sesame Street font for the name here. Anyway, if you have a kid that loves Elmo, or are thinking of having kids, this cartridge is super cute and easy to use!

Wednesday, January 14, 2009

Paper Doll Dress Up


One of my very favorite cartridges for my Cricut is the Paper Doll Dress Up cartridge! It has so many different features on it besides the obvious - dolls! It is also loaded with seasonal goodies too! Above is a layout done with the Jack O Lanterns (2 different ones) from the cartridge. I used 4 different orange papers to get the look I wanted. The font is the Storybook font, it reminded me of the pumpkin vines!


Tuesday, October 7, 2008

My Very Own Blog!

Wow! I turn 29 tomorrow and I am going to figure out this whole blog thing! I've never been good at keeping a diary so I think I will keep this pretty much Scrapbook and Card Making and Paper Crafts related with a random musing of my own here and there. I never actually plan for anyone to read this so if you're reading this.... cool!

A little about me: I am a sort of SAHM meaning I have a Part-Time job that I love but I only work 2 days a week so I can take care of my DD. I love to scrapbook but lately have been feeling creatively blocked. I think I am on too many Scrapbooking Yahoo boards and I am planning on slowing withdrawing from most of them. I have been participating in too many swaps... which I originally thought would inspire me and I think I need to get back to doing my own books. Plus I think my DH will KILL me if I spend much more on Scrapbooking supplies. I've really got to put to use the stuff I have... or maybe sell or swap stuff that I decided I won't use... That's for another day tho. I'm sure this blog thing will only entertain me for so long.... I will probably mostly post pictures of stuff I've made if I can figure out how to do so :)